Has the paint on your kid’s power wheels started to peel off, or has your child started disliking the toy car’s color and asked for a new one?
Well, power wheels are sturdy toys, and the only way you improve their overall appearance is by repainting them. Repainting it can give it a new look.
Unfortunately, repainting this toy is not as easy as you think. Before painting it, there are numerous preparations you must do, so if you want to learn how to repaint a toy car, please read on…
Table of Contents
Why Should I Repaint My Kid’s Power Wheels?
There are numerous reasons why you may need to repaint your child’s power wheels toy. And some of the most common ones include:
The Power Wheels Vehicle Has Become Disfigured
The same way a normal car needs to be repainted after every few years, the power wheels car also looks disfigured when its paint starts peeling off.
Therefore, you may have to be painted once in a while. After all, kids are known to push their toy cars to the limits. The more they hit the walls or hit the car with a stone or hammer, the more disfigured it becomes.
That is because the toy’s paint peels off every time.
Your Kid Has Started Liking a Different Color
Even your young child who hasn’t outgrown the power wheels may all of a sudden start liking a new color. Or they may want the color of their toy car to resemble their friend’s power wheels. Therefore, you will be forced to repaint the toy car or get a new one.
Other reasons
Despite being siblings, your kids have different tastes and preferences, and this includes their favorite colors. Just because your eldest son loves a blue power wheels vehicle, it doesn’t mean that his youngest sibling will like it.
Therefore, to motivate your young child and make them love the toy, you will have to repaint it. And make sure you apply their favorite color and decorations.
Picking the Right New Paint
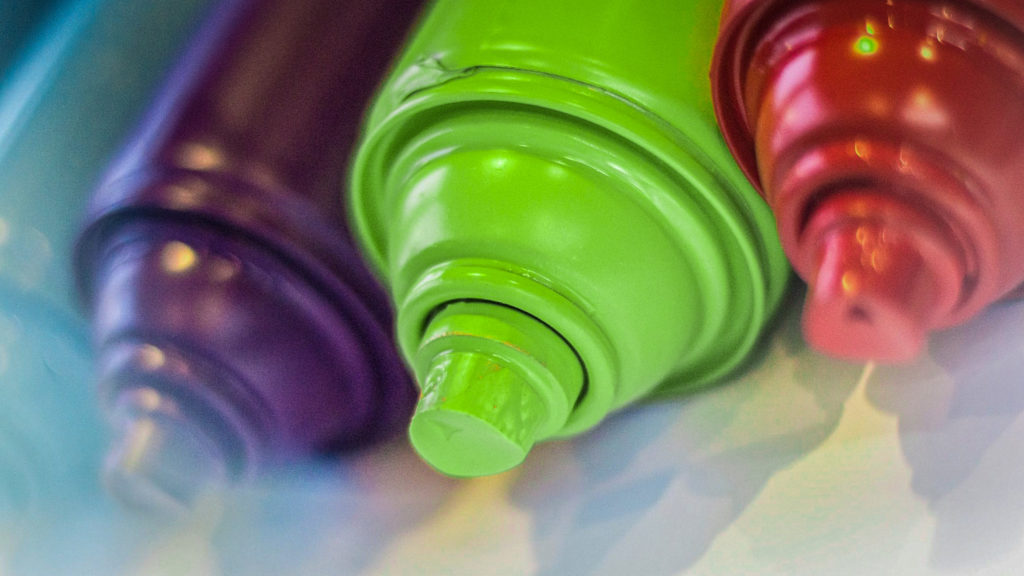
The best paints for this task are always spray paints which are easy to apply. And if you’re working with a tight budget, you should avoid lighter paints.
Lighter paints take numerous coats for them to stick. On the other hand, you will have to apply fewer coatings than most paints before it sticks with heavy spray paint. This means that you will use fewer cans.
Unfortunately, some toys vehicles need extra cans of paint. Covering a deeper base color with a lighter one can take more cans than covering a lighter one using darker spray paint.
Therefore, you should select the right color that will improve the car’s overall appearance, but make sure it is one of your kid’s favorite colors.
To achieve this, you will have to ask your kids to name more than three of their favorite colors and pick the one that works perfectly with the toy car’s base color.
Painting the Power Wheels
Repainting your kid’s toy vehicle can be a fun and engaging moment with your kids. And if done correctly, your kids will love the outcome and enjoy driving their power wheels.
But for better results, you should do proper preparation and make sure you have gathered all the necessary materials before you start.
After all, repainting the toy vehicle without adequate preparation can produce an unwanted result. When repainting the power wheels car, you should do the following:
Step 1: Gather all the materials and tools
The key to completing a project successfully is proper preparations; therefore, you should start by putting everything you will need for the job in one place.
So create a checklist containing the following items and make sure you have them in your workstation. For this project, you will need the following materials:
- Spray paint
- Primer
- Fine sandpaper or soft wire brush
- Sanding machine
- Water
- Soap
Before you start washing the toy car, you can remove the battery and store it in a safe and dry place.
Step 2: Remove the old paint and wash the toy car
Before you start sanding the toy car, you should first clean it properly and remove all the grime and dirt on its surfaces.
And if you have already washed it, then you can move the toy car to your working station and start removing the old paint from the power wheels. For this process, you need fine sandpaper to scrub off the paint.
If you don’t have fine sandpaper, you can use a soft wire brush to remove the old paint. But make sure you wear a mask, some protective goggles, and a pair of gloves.
You can even rush this process by sanding the toy car using a sanding machine.
After removing the old paint, you must rewash the toy car and remove the dirt, dust particles, and any other form of stain that will affect the quality of the paint.
Let it air dry for a few minutes in the open air before you start painting it. You can dry the lower parts of the car using a dry piece of cloth.
Step 3: Remove the upper part of the toy car
After the car has dried, you can proceed and remove the upper part of the toy car. Removing this part will make it easier for you to access its undercarriage.
Make sure you place them on your workstation separately and store the screws in a safe place. If you are unscrewing part of the car for the first time, you should mark every part of the car that you have removed for easy reassembling.
Step 4: Prepare your workstation and the toy car
The best place to repaint the toy car is in the outdoors but under the shade. So you can pick a well-aerated place in your backyard and cover the ground with old newspaper to prevent the paint from spilling to the floor.
Place all the disassembled parts on the workstation. Put tape on the edges of the painting surface on the car’s body to act as a guide when painting. Avoid putting tape on surfaces that you want to paint.
Since you won’t be painting the wheels, it’s always a good idea to cover them. This will prevent the sprayed paint from reaching the wheels. Don’t forget to cover the logo and dashboard before you start painting.
Step 5: Wear protective gear
Since you will be working with paint made using toxic components, you need to wear protective gear. Most paints and thinners have VOCs (volatile organic compounds) that are flammable and toxic.
The VOCs can be easily absorbed through the skin and eye. So make sure you cover your body, eyes, and head.
Some paints are quite harmful when inhaled, so make sure you wear a protective mask. And if you will be doing the painting part with your kids, make sure they are wearing their protective gear too.
Step 6: Apply the primer
If you’re using 2-in-1 paint, then you can skip this part, but if you are using normal paint, you should start by applying the primer on the car.
The primer will increase the likelihood of the paint sticking on the toy car for an extended period.
Step 7: Apply the first coat of paint
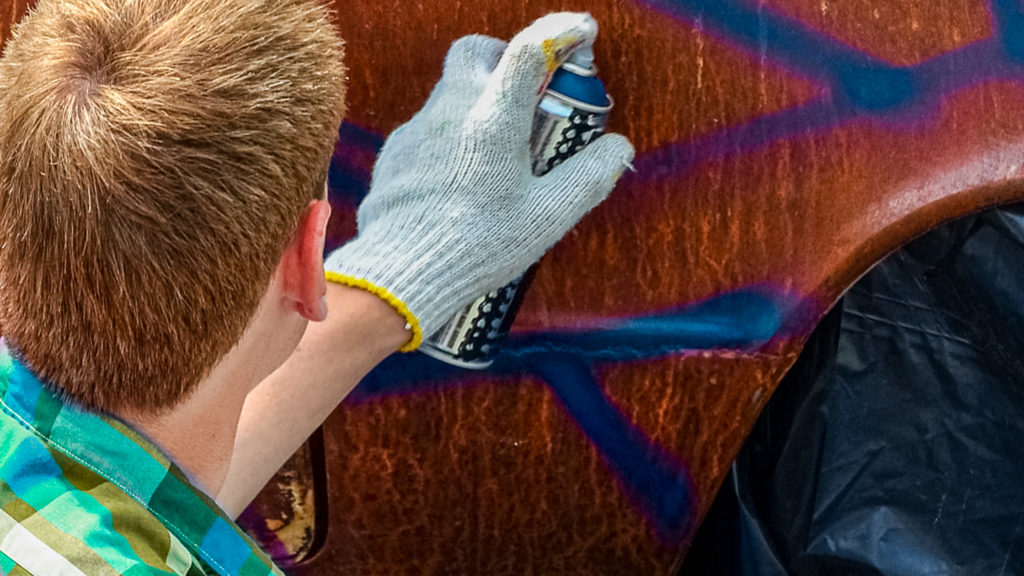
With the primer already applied, you can proceed and apply the first coat on the toy and the disassembled parts. When painting the toy car, make sure you spray the paint from side to side to create an even coat.
The spray cans should be a few inches away from the power wheels vehicle, and your hand should be fully stretched when painting. Let the paint dry as per the manufacturer’s instructions under a shade.
Step 8: Apply the other coats of paint.
After the first coat has dried, you can apply the other layers of paint until you get the desired tone. Remember, most toy cars require more than three extra coats of paint.
This job may take several hours, and if you’re applying a lighter spray paint on a darker base, then you will have to use even more layers of paint.
But make sure each coat dries before you start applying another one. Don’t forget to apply the additional layers of paint on the disassembled parts and let them dry as well.
You can even cover a certain part of the body of the car with some lovely images before reassembling it.
Step 9: Reassemble the Power Wheels
With the desired tone achieved, you can let the car dry in the open air for a few hours before reassembling it for your kid to drive. In most cases, it can take about four hours for the car to dry.
Therefore, you can park the toy car and the disassembled parts under a shade and let them dry.
Once the paint has dried, you can reassemble the upper part of the toy car, reinstall the battery and let your kid drive their power wheels.
Conclusion
Painting a power wheels vehicle can be a daunting but fun task that can take you an entire day. But when done correctly, your kid will love the result, and they will love their toy cars proudly.
Despite being a straightforward task, your family’s protection comes first. So make sure you and the kids wear protective gear before you start painting the toy car.
To get the right tone, you will have to apply as many layers of paint as possible. And when done correctly, a paint job can leave the power wheels as good as new.


