Are you looking for an easy-to-follow, clear, and concise guide, on how to assemble power wheels? You are? then you have come to the right place.
Don’t spend all day trying to work it out by yourself, with hard-to-follow instructions. This guide will take you through how to tackle this challenge, step by step, to get your little ones on the road, in no time at all.
Table of Contents
What Will I Need?
You may have a full selection of tools to hand, or a kitchen drawer with that all-important handy screwdriver in, but what exactly will you need to assemble the ride on?
The answer is usually just a trusty screwdriver and a pair of pliers. Most people have these to hand, or you can borrow them from a friend, neighbor, or relative.
It is advisable to have these ready before starting the assembly.
Where Do I Begin?

The box is open, you have your tools at the ready, but what comes first?
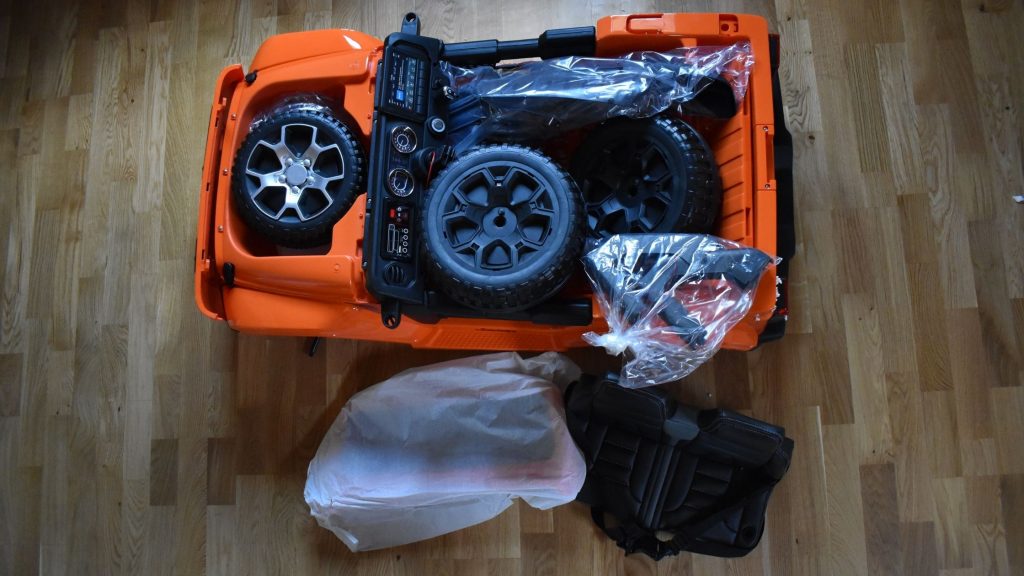
- Depending on the make or model you have purchased, your ride on may already be partially assembled (Hopefully this is the case as it will make the job a little easier)
- Check all the components are accounted for against the manual supplied in the box and that they are not visually damaged. The last thing you need is for something to be missing when you are halfway through the job.
- If any parts are missing or damaged, contact the store you purchased it from, or go directly to the manufacturer. It may be a good idea to take some photos of the parts that need replacing.
- Once you have cleared a large enough working area, have all the components accounted for, and a freshly made cup of tea at the ready, you will be good to go!
The Manual
- This may sound like an obvious suggestion, but the manual supplied in the box, is pivotal for the correct assembly of your ride on.
- Many people assume they know what the next step will be and skip ahead to get the job done quicker. Being guilty of that first-hand, we know how important every stage is for the correct assembly. By following the manual step by step, not only will the job be done well, but it also prevents any ‘spare’ parts being left at the end. Nobody wants to left not knowing what that screw was for.
- Safety is paramount for our little ones. We want to know that the ride on is properly assembled, every bolt is tightened, and this in turn will give us peace of mind when they are zooming up and down the driveway.
Important Safety Checks
There are a few parts that require extra attention to prevent our little ones being hurt whilst using their ride on and to keep them working for as long as possible. We all know how excited children usually are when they get a new toy and how they want to ride it straight away. The last thing we would want is to see their disappointment when it doesn’t work.
Here are some important areas to check thoroughly and we will look at each one in detail:
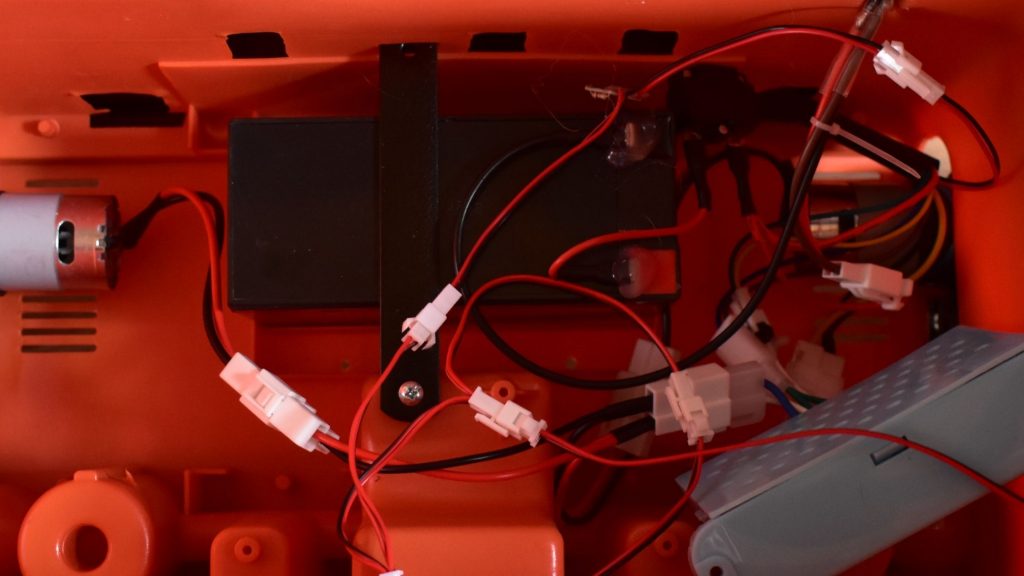
Battery Installation

It is important to make sure the battery terminals are correctly attached to any switches, that the battery is firmly in place and won’t move about when the ride on is in motion, and there are no loose connections.
If any of the above are not checked, it may cause no power to the ride or for it to be intermittent.
Door Locks
Most ride ons come with lockable doors, which help keep our children safe whilst using it.
It is important to check that the doors lock correctly, the seals are tight with no obvious gaps as this could mean the door is loose, and that the latches are secure.
Periodically it is advisable to check the doors and the latches, as they may become loose and need adjusting.
Axle
The wheels clearly have an important role to play in the function of the ride on, without them your child won’t be going anywhere!
Therefore, it is important to check the wheel’s axle (The metal rod that usually joins the wheels to allow them to move together).
Without the axle in position correctly, or, if it is damaged and bent, it may cause the car to wobble. This may make driving a little harder or potentially cause a crash, so it’s a good idea to check this regularly.
Charge the Battery
As mentioned already, there is nothing worse than a child on their birthday or Christmas morning, opening their present and not being able to use it.
Once the ride on is assembled and the important safety checks have been made, it is time to charge the battery!
The length of time to charge a battery is usually around 10-12 hours prior to use, but different manufacturers have their own instructions. It is always worth checking in the manual what is recommended.
If you follow the manual’s guidance on charging and usage times, you can prolong the life of the battery, and provide your child with hours of fun.
If the battery fails to charge there may be a problem with the charger itself.
Taking Control

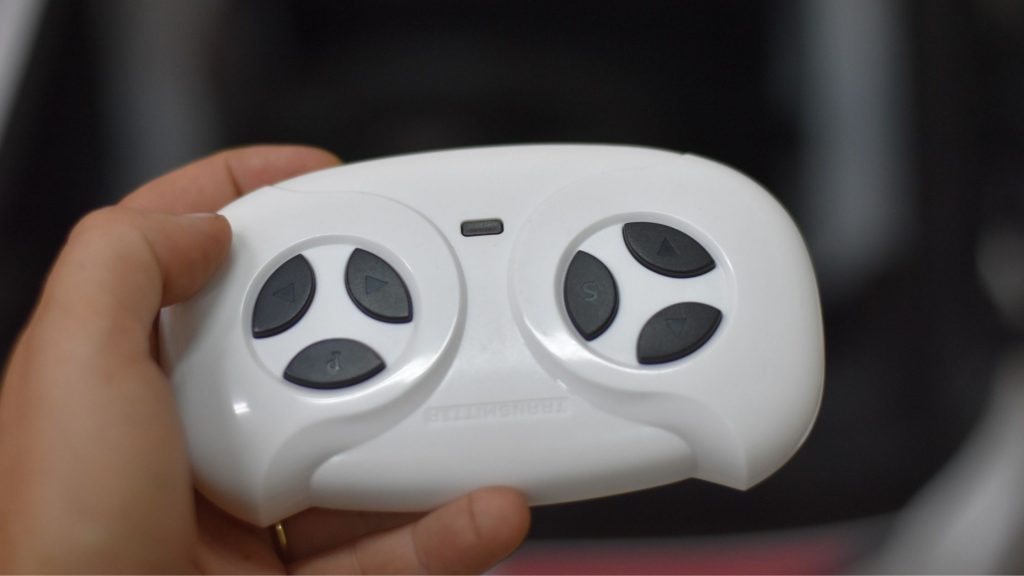
The battery is charged, your final checks have been made, so before they ride off into the sunset, the final stage is to pair the remote for that all-important parental control.
For the remote control to be paired with the ride on, some manufacturers require the power to be off, but for some, the power needs to be on. Check in the manual which applies to you.
Once paired, usually by Bluetooth, check the control works before use.
The remote is used for full or partial control of the ride on, depending on your child’s ability. Full parental control is ideal for younger children to still have a lot of fun, but for peace of mind, you will be in charge!
Note: You may need batteries for the remote which may not be included
How Long Will the Assembly Take?
As a guide, depending on whether the ride on is partially assembled or not, it can range from 30 minutes – 2 hours. So, make sure you have enough time to dedicate to the assembly before starting.
Bring in a Professional
If you are still not sure you want to attempt assembly yourself, there are several people offering assembly services for an additional fee. This may be a good idea if you are limited on time, and a quick internet search should help you find someone who can help.
Alternatively, there are many different online videos which may prove useful, to help with the assembly of your specific ride on.
Final Thoughts
Whether you are a mechanic or not, it is usually straightforward if you follow all the steps, to assemble a ride on at home. With a few simple tools, a bit of time, and a lot of patience, YOU CAN DO THIS, and your child will have hours and hours of fun.


