We all know that kids love to stand out from the crowd and be the center of attention. As parents, we also love to give our kids that sweet delight and thrill as much as possible.
You don’t need to spend on expensive gifts to excite your child. Just a simple 40 minute DIY lighting upgrade is all you need to do the trick.
With a few mechanical twists and turns, your kid will be riding the coolest car in the park in no time!
Read on to know more in detail about how you can add different lights to the existing Power Wheels at home – with a spend of less than $50!
Table of Contents
Set of Tools Needed:
- Power Wheels or any ride on
- Electrical tape or glue gun
- 3M double-sided tape
- Toggle switch (the easiest but you’ve got other options too)
- 18 gauge wires – at least 10 meters
- Wire cutters or electrical pliers
- Screwdriver
- Soldering gun or soldering kit
- LED strips / flashlight / spot light / LED bulbs / wired LED diodes
Optional Tools / Devices:
- Distribution block
- Battery capacity indicator
- Heat shrink tubing
- Step down voltage reducer
- Dremel rotary tool
Can You Add Lights to Power Wheels?
Of course, the obvious answer would be yes! You can get two wholesome advantages from adding some cool lights to your kid’s ride-on.
One is that it increases your child’s playtime even after sunset. Evenings are the only time of the day parents get to spend quality time with their young ones after a hectic day at work.
Many times, early sunsets and cold winters manage to successfully spoil that prime family time together. With the bright lights on, your kids can continue driving in the twilight.
Adding lights to Power Wheels can also be considered another safety measure for extra cautious parents.
The second advantage is that adding lights to Power Wheels will make the driving experience more real than ever! Your son or daughter is probably living your childhood dream right now.
Why not make it a little more realistic and memorable?
It will boost your kid’s confidence among their peers as they will surely cause head turns wherever they go.
Step-By-Step Guide to Install Lights
Pick Your Choice of Lights
As given in the list of tools required above, you can use any light on the Power Wheels.
My choice would be to go for the spotlights for the headlights and taillights and some LED strips for the interior and underglow lighting.
You can mix and match different types of lights available at home or the local store as long as it fits your Power Wheel’s specifications and size.
Check the Positioning and Size of Fitments
This is a really quick step people tend to ignore most of the time.
Simply place the selected LEDs in the positions where you’re going to mount them and make clear markings. This will be helpful when you need to drill or cut wires later on.
Check if the measurements are well suited. You will have to do some minor drilling here and there on the plastic as most small ride-on cars have stickers in place of headlights and taillights.
The Electrical Part

If you’re using a flashlight or spotlight, you’ll have to disassemble the parts and remove the LED circuit board.
Then, you can cut the circuit board into smaller LEDs carefully. With LED strips and wired diodes, you don’t have to do all this. It makes the job much easier.
After that, use an electrical plier to remove the insulation from the wires that are to be soldered.
Assembly
Firstly, disassemble the Power Wheels in a dry place. Using a distribution block for the final assembly will relieve you from getting the wires tangled or confused about which one goes where.
Headlights
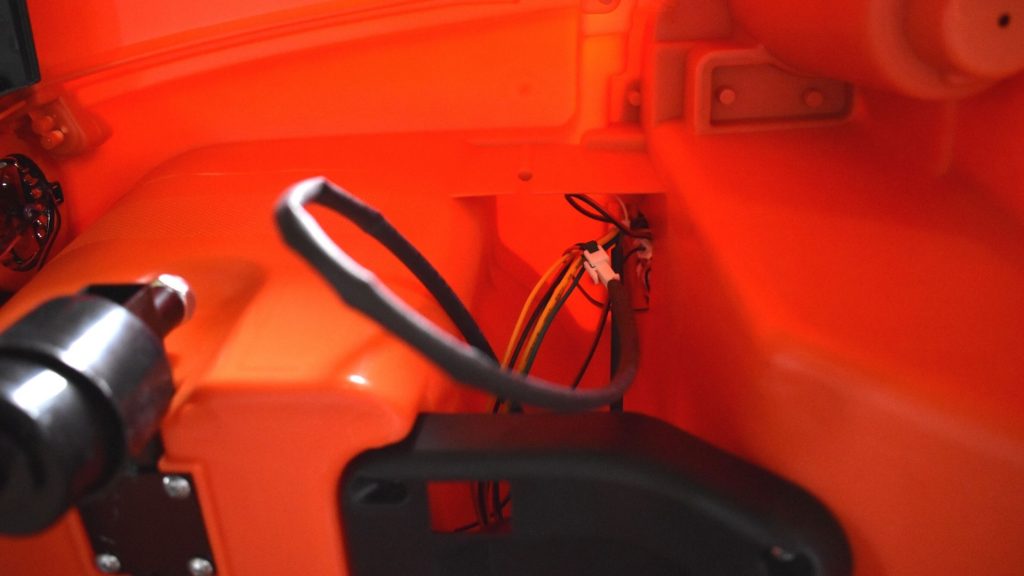
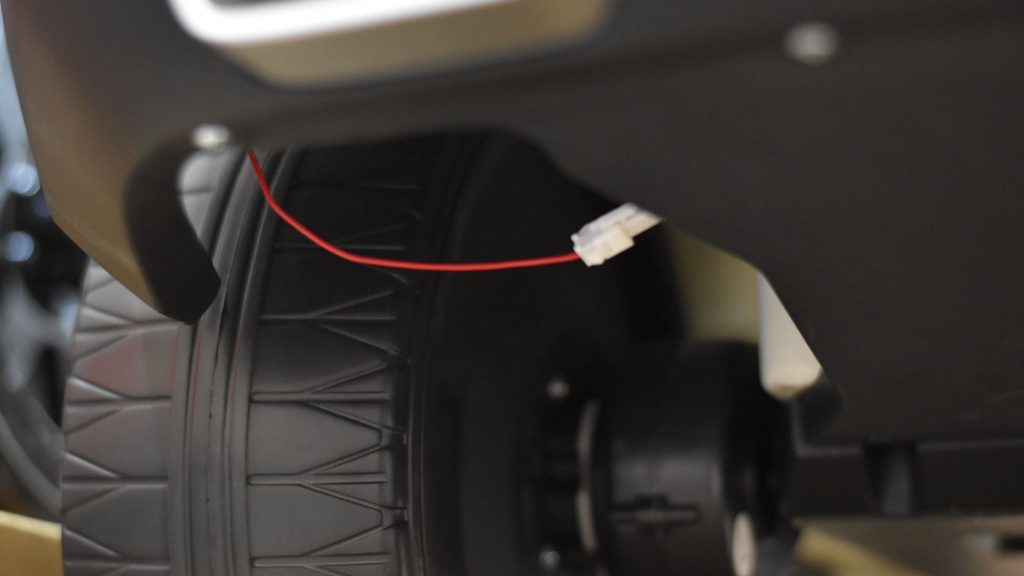
Run the wires to the headlight area. Make sure to run one wire to the battery. Don’t forget to make a connection to a toggle switch, too, so your kid can switch the lights manually.
If your Power Wheels already have toy headlights, remove them beforehand. You have to unscrew the lens and remove the full cover.
It’s always good to solder the wires and connect the ends before mounting the lights onto a surface.
When drilling, always ensure that it’s the appropriate size for the lights and wires. It has to be big enough to let the wires through but not too wide that it has extra room for no reason.
Next, take note of the positive and negative terminals indicated to connect the wires accordingly.
Use electrical tape to secure the wires close to the ride-on’s body. You don’t want your kids to run over the wires as soon as they start the car.
Now use hot glue or adhesive to set the lights in place, and you’re done with the main part.
Taillights
The same goes for the taillights.
Taillights are a tiny bit more complicated to handle than headlights, so the only way around is to remove the rear bed. Drill the part where you’ll be placing the lights and repeat the same process of connecting the diodes.
Interior Lights / Underglow

LED strips are the easiest for interior and underglow lights as you want to have a line of continuous lighting, not a single bright one.
The adhesive that usual LED strips come with are of very cheap quality and will probably lose the stickiness after 1 or 2 weeks.
Instead, try to use good quality double-sided tape or glue in place of the given adhesive. Run the wires through, and you’ll have a 360-degree glowing ride on.
As said before, make sure to lead the wires to the switch on the dashboard and the battery unit.
To install the toggle switch onto the Power Wheel’s dashboard, drill a small hole and fit in the switch.
Run the wires from beneath and secure them tightly. Not every Power Wheel is the same, so you need to drill holes where it’s necessary, pull the wires through to the position of the lights, and connect them.
While mounting or gluing the lights, check if they are correctly angled. You don’t want them to be shining in weird directions like googly eyes!
Precautions and Tips to Note
Always check if the lights are in good working condition before closing the hood or covers. This will save you a ton of time from repeating the same job in case of malfunctions.
Installing LEDs do have a slight impact on the ride-on’s battery consumption. If you don’t want the light to reduce playtime in any way, you can opt for a separate 12V battery just for the lights.
Otherwise, connect them to the existing one.
You can also get a battery monitor to watch over battery consumption with and without lights. Though this is just an extra step ahead, it can also tell you when it’s time to start packing up from the park.
Using a voltage step-down device will be a brilliant choice if you have a ride-on with a 24V battery or above.
A step down is a device that converts a specific voltage range, say 24V or 32V, to 12V. This way, you can prevent the lights from burning out or over-discharging even without a separate battery unit.
Try to run the wires in the same paths as the factory wirings. It is not possible all the time, but sticking to the directions of the factory wires will make it less prone to getting damaged or run over.
Another tip or caution with handling wires is that you should use heat shrinking tubing on all components. It is convenient in avoiding short circuits due to wetness or wire damages.
Wrap Up
There you go! Simple enough. Get up and get started with this quick upgrade to your ride on right away!
It will be the second-best jaw-dropping gift you’ll give your kiddo (the first one is always the ride-on car itself)!
Transform the average ride-on into a priceless multicolor eye-magnet.


